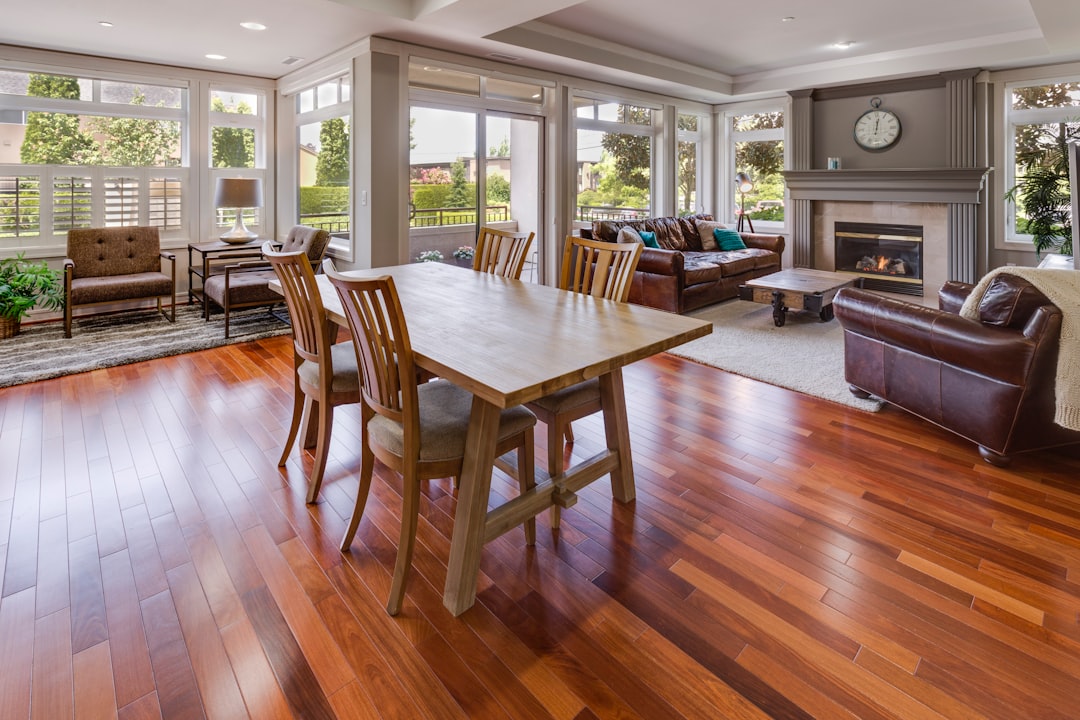
A flooring estimate needs more than the room’s advertised size. Closets, offsets, angled walls, plank direction, pattern matching, and damaged cuts all affect how much material you should buy.
Use the Flooring Calculator to estimate square footage, waste, boxes, and material cost.
Break the floor into simple shapes
Measure the longest interior length and width of a rectangular room, then multiply them. For an L-shaped room, divide the floor into two rectangles and add their areas. Treat closets, bay-window areas, and connected halls as separate rectangles. For triangular sections, multiply base by height and divide by two.
Measure in feet and inches, then convert inches to decimals when needed. Six inches equals 0.5 foot, three inches equals 0.25 foot, and nine inches equals 0.75 foot. Round measurements up slightly instead of down.
Choose a sensible waste allowance
Waste covers end cuts, defects, future repairs, and layout adjustments. A simple rectangular room installed in a straight pattern usually needs less waste than a diagonal layout, herringbone pattern, irregular room, or material with strong visual matching. Review the manufacturer’s installation instructions because some products recommend a specific overage.
Apply the waste percentage to the measured area before converting the estimate to boxes. If a room measures 200 square feet and you add 10 percent, plan for 220 square feet.
Convert square footage to boxes
Check the exact coverage printed on the carton. Divide the adjusted project area by the square feet per box, then round up to a whole box. Product listings sometimes show package coverage that differs by color, plank size, or case configuration, so confirm the selected variation.
Estimate the material budget
Multiply the number of boxes by the actual box price. Add underlayment, moisture barrier, adhesive, fasteners, transition strips, baseboard or shoe molding, floor preparation, delivery, tool rental, tax, and disposal as separate lines. Labor is also separate if you are hiring an installer.
Check the subfloor before ordering
A flat, dry, structurally sound subfloor can matter as much as the flooring itself. High spots, low spots, moisture, loose panels, damaged concrete, or old adhesive may require extra materials and time. Confirm compatibility between the flooring, subfloor, underlayment, and room conditions.
Before checkout
- Recheck every room and closet.
- Confirm plank or tile direction and pattern.
- Verify box coverage and return policy.
- Keep unopened matching material for future repairs.
- Allow products to acclimate when the manufacturer requires it.
Use your measurements as a planning estimate and follow the product instructions for final quantities and installation requirements.
Worked example: an L-shaped room with a closet
Suppose the main rectangle measures 14 by 12 feet, a connected offset measures 6 by 4 feet, and a closet measures 3 by 5 feet. Their areas are 168, 24, and 15 square feet, for a total measured area of 207 square feet. If the product, room, and layout justify a 10% allowance, 207 × 1.10 = 227.7 square feet.
If the selected carton covers 23.7 square feet, divide 227.7 ÷ 23.7 = 9.61 and round up to 10 full boxes. Ten boxes provide 237 square feet based on the label. Use the actual coverage printed on the selected color and package, because carton quantities can differ within the same product family.
Plan the layout before setting the allowance
Plank direction, starting wall, stagger rules, minimum end-piece length, doorway transitions, and pattern matching determine whether offcuts can be reused. A narrow hall connected to a large room may create more loss than its area suggests. Sketch the rows or dry-lay representative pieces before assuming a standard percentage will cover every cut.
Final ordering checklist
- List each room, closet, hall, landing, and alcove separately, then check the total once.
- Confirm the exact product, color, lot or run, plank dimensions, and square feet per carton.
- Review the required expansion space, stagger, acclimation, underlayment, adhesive, and fastener instructions.
- Test and prepare the subfloor using the flooring manufacturer’s limits for flatness and moisture.
- Check freight, damaged-carton procedures, return rules, and how much matching material to retain for repairs.
Costs the flooring quantity does not include
The box estimate normally excludes removal and disposal, floor leveling or patching, moisture mitigation, underlayment, vapor retarder, adhesive, fasteners, transitions, stair parts, trim, baseboard, tool rental, delivery, tax, and installation labor. It also does not account for hidden subfloor damage that becomes visible after demolition.
When measurement is not the main risk
Stop and investigate before ordering if the floor is damp, uneven, loose, contaminated with old adhesive, or structurally questionable. Wood, laminate, vinyl, engineered flooring, tile, and carpet have different substrate and environmental requirements. Basements, slabs, radiant heat, wet areas, and below-grade rooms require product-specific approval; square footage alone cannot establish suitability.
Method and references
See How Our Calculators Work for the area formulas, rounding rules, assumptions, and limitations used across DIY Cost Tools. For wood flooring, the National Wood Flooring Association technical guidelines are an industry reference; always follow the current instructions for the exact flooring system and substrate.
Calculation example and guidance reviewed September 21, 2026.
Continue planning this project
Room measurements can support several finish estimates when each material’s package rules are applied separately.