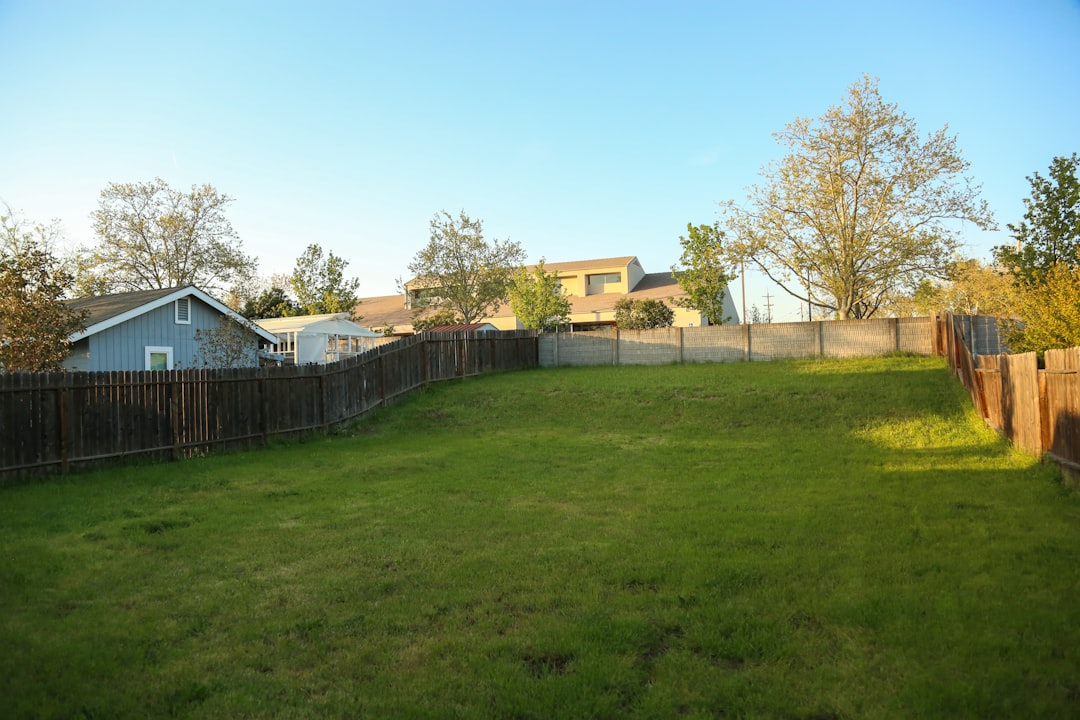
A fence estimate begins with total run length, but accurate planning also requires corners, ends, gates, terrain, post spacing, and the exact system being installed.
Use the Fence Calculator to estimate panels, posts, gates, and basic material cost.
Worked fence-layout example
A straight 180-foot fence using nominal 8-foot panels begins with 180 divided by 8, or 22.5 sections. Because a partial final section still requires material, the starting estimate rounds up to 23 panels. A straight run with no gates normally needs one more post position than panel sections, producing 24 post locations before corner, end, gate, or reinforcement details are considered.
If a 4-foot gate replaces part of the run, subtract the gate opening before calculating standard panels and count the gate posts separately. Panel width, post width, brackets, gaps, rackable sections, and field-cut panels can change the exact layout, so sketch every side rather than relying only on total perimeter.
Items to mark on the site plan
- Property lines, survey markers, setbacks, easements, and required permits.
- Every corner, end, gate, slope change, and connection to an existing structure.
- Underground utility locations before digging.
- Post depth, footing diameter, drainage, frost, wind, and soil conditions.
- Panel or picket dimensions, hardware, fasteners, caps, concrete, and finish.
- Access for delivery, augers, spoil removal, and future maintenance.
Why perimeter alone is not enough
Two fences with the same length can require different materials because of slopes, corners, gate widths, post spacing, board style, and terrain. The calculator provides a planning count; approved setbacks, structural details, utility marking, and manufacturer instructions control the final installation.
Reviewed September 21, 2026. Read how our calculators work for formula, rounding, and update practices.
Map the fence route
Sketch the property and divide the proposed fence into straight runs. Measure each run separately and note every corner, end, change in direction, gate, and elevation change. Do not rely on an old fence as proof of the legal boundary.
Confirm property and utility information
Review the survey, easements, setbacks, neighborhood rules, permits, height limits, and visibility requirements. Use the local utility-location service before digging. Private lines such as irrigation, lighting, septic, or outbuilding utilities may require separate locating.
Choose post spacing and panel size
Prefabricated panels have fixed widths, while site-built fences allow more flexibility. Divide each straight run by the selected spacing and round up. Posts are typically needed at ends, corners, gates, and where runs change. Gate posts may require different dimensions or footings.
Plan for slopes
Fences can follow grade, step down in sections, or use racked panels designed for slopes. The method changes post height, panel fit, gaps, and appearance. Measure elevation changes and confirm what the fence system supports.
Build a complete material list
- Line, corner, end, and gate posts
- Panels, pickets, rails, or mesh
- Concrete or approved post-setting material
- Fasteners, brackets, caps, and trim
- Gates, hinges, latches, drop rods, and stops
- Finish, stain, or protective treatment
- Delivery, excavation, disposal, and tool rental
Estimate cost by component
Price the actual quantities rather than relying only on a cost-per-foot number. Cost per foot can be useful for early comparisons, but gates, corners, difficult soil, demolition, steep slopes, and premium hardware can shift the total significantly.
Check before purchasing
Confirm post depth, footing diameter, wind exposure, frost requirements, hardware compatibility, corrosion resistance, and manufacturer instructions. Structural and code requirements vary. Recheck the layout with all affected property owners and professionals before digging.
Continue planning this project
Post footings, connected outdoor structures, and irregular property areas can be checked with separate tools.