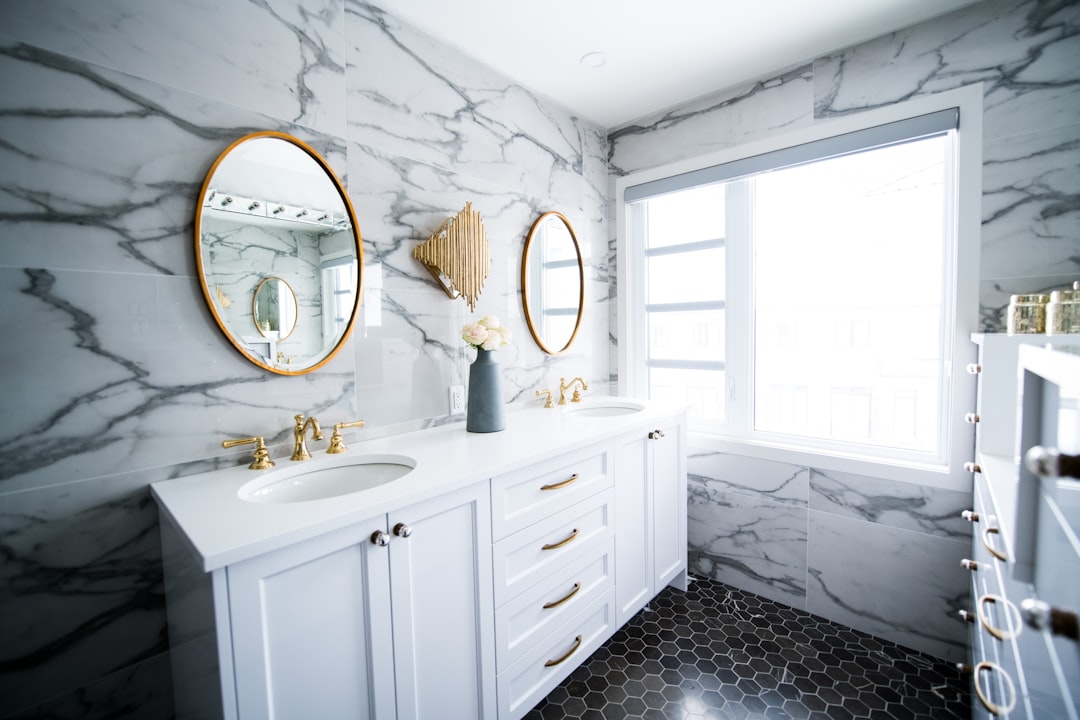
Tile is sold by piece or by carton, but projects are measured by area. The challenge is converting room dimensions into enough full boxes while allowing for cuts, breakage, pattern alignment, and tiles kept for future repairs.
Use the Tile Calculator to estimate individual tiles, boxes, waste, and tile cost.
Measure the installation area
For floors and rectangular walls, multiply length by width. Measure each separate surface and add the results. On a shower surround, calculate the back wall and both side walls independently, then subtract large openings only when they meaningfully reduce the tiled area.
Small niches, benches, curbs, and returns can require more cutting than their area suggests. Measure them, but do not reduce waste too aggressively just because their square footage is small.
Understand nominal and actual tile size
A tile’s advertised size may be nominal. The actual dimensions can be slightly different, and grout joints affect layout. For purchasing by carton, the manufacturer’s stated square-foot coverage is usually the most reliable conversion. For layout planning, use the actual tile dimensions and planned grout width.
Add waste for the layout
A straight grid in a square room typically creates fewer offcuts than diagonal, herringbone, offset, or intricate patterns. Irregular walls, many corners, fragile material, and strong shade or vein matching can increase waste. Large-format tile may also produce unusable offcuts in small spaces.
Add your waste allowance before dividing by carton coverage. Always round up to a complete box.
Dry-plan critical areas
Before setting tile, establish reference lines and test the layout. Avoid tiny slivers at visible edges when possible. Centering the pattern may improve appearance but can increase cuts. Plan transitions, thresholds, fixtures, drains, outlets, and trim pieces before ordering.
Do not forget installation materials
- Mortar or adhesive approved for the tile and substrate
- Grout in the correct type and quantity
- Backer board, waterproofing, membrane, or uncoupling layer
- Spacers or leveling clips
- Edge trim, bullnose, thresholds, and movement-joint materials
- Sealer when required by the tile or grout
Keep replacement tile
Tile colors, textures, and dimensions can vary between production lots. Save a few full tiles from the same lot for future damage or plumbing repairs. Store the product label with the leftovers so the manufacturer, series, color, caliber, and lot information remain available.
Confirm carton coverage, recommended waste, substrate requirements, and installation instructions for the exact tile before purchasing.
Worked example: an 11-by-13-foot floor
An 11-by-13-foot room has 143 square feet of floor area. If the chosen layout and room shape support a 10% waste allowance, 143 × 1.10 = 157.3 square feet. Suppose the exact carton label states that one box covers 15.6 square feet. Divide 157.3 ÷ 15.6 = 10.08, then round up to 11 full cartons.
Eleven cartons would provide 171.6 square feet based on the label. The difference is not automatically wasted: unopened returnable cartons and a few labeled spare tiles can be valuable for future repairs. Confirm the retailer’s return policy and make sure all cartons have matching product, color, caliber, and lot information before installation.
Match the allowance to the layout
A waste percentage is a planning assumption, not a universal rule. A simple straight layout in a square room may create reusable offcuts, while diagonal, herringbone, staggered, vein-matched, or highly segmented layouts may require more. Large-format tiles in a small room can also leave offcuts that are too narrow to reuse. Dry-layout the most visible lines before deciding that the default allowance is enough.
Pre-purchase checklist
- Separate floors, walls, niches, curbs, benches, and trim instead of hiding them in one rough area.
- Use the carton’s stated coverage for purchasing and the actual tile dimensions plus grout joint for layout.
- Confirm substrate flatness, movement joints, waterproofing, mortar, grout, and sealer requirements.
- Check the pattern, orientation, shade variation, lot, caliber, and acceptable breakage before opening every box.
- Plan thresholds, edge profiles, transitions, drains, outlets, and penetrations before ordering.
Costs the tile quantity does not include
The tile calculation normally excludes demolition, disposal, substrate repair, backer board, waterproofing, uncoupling membrane, mortar, grout, sealer, leveling clips, edge profiles, thresholds, cutting tools, freight, tax, and installation labor. Natural stone and specialty tile may also require handling, sealing, setting, or structural work that area alone cannot predict.
Wet areas and structural limits
A tile quantity calculator cannot design a shower assembly, confirm joist or subfloor suitability, select a movement-joint system, or approve a setting material. Follow the tile, mortar, grout, membrane, and substrate manufacturers’ instructions together with applicable building requirements. For showers, exterior work, heated floors, large-format tile, or questionable substrates, use a qualified tile professional.
Method and references
See How Our Calculators Work for the formulas, rounding rules, assumptions, and limitations used across DIY Cost Tools. The Tile Council of North America resource center provides industry information on tile standards and installation methods; the current product instructions and project specifications remain controlling.
Calculation example and guidance reviewed September 21, 2026.
Continue planning this project
Tile orders can be cross-checked against the same room’s floor area and remodel budget.